Every. Single. Recipe. S’Mores Bars!

smores bars
What the heck!
So I made these a couple of week ago…and if you are in the market for something ridiculously sweet and rich, this is the concoction for you! And the best part about this recipe is that I finally got a shot at making marshmallow creme…which is so cool to do and way better than that jarred crap!

ganache 
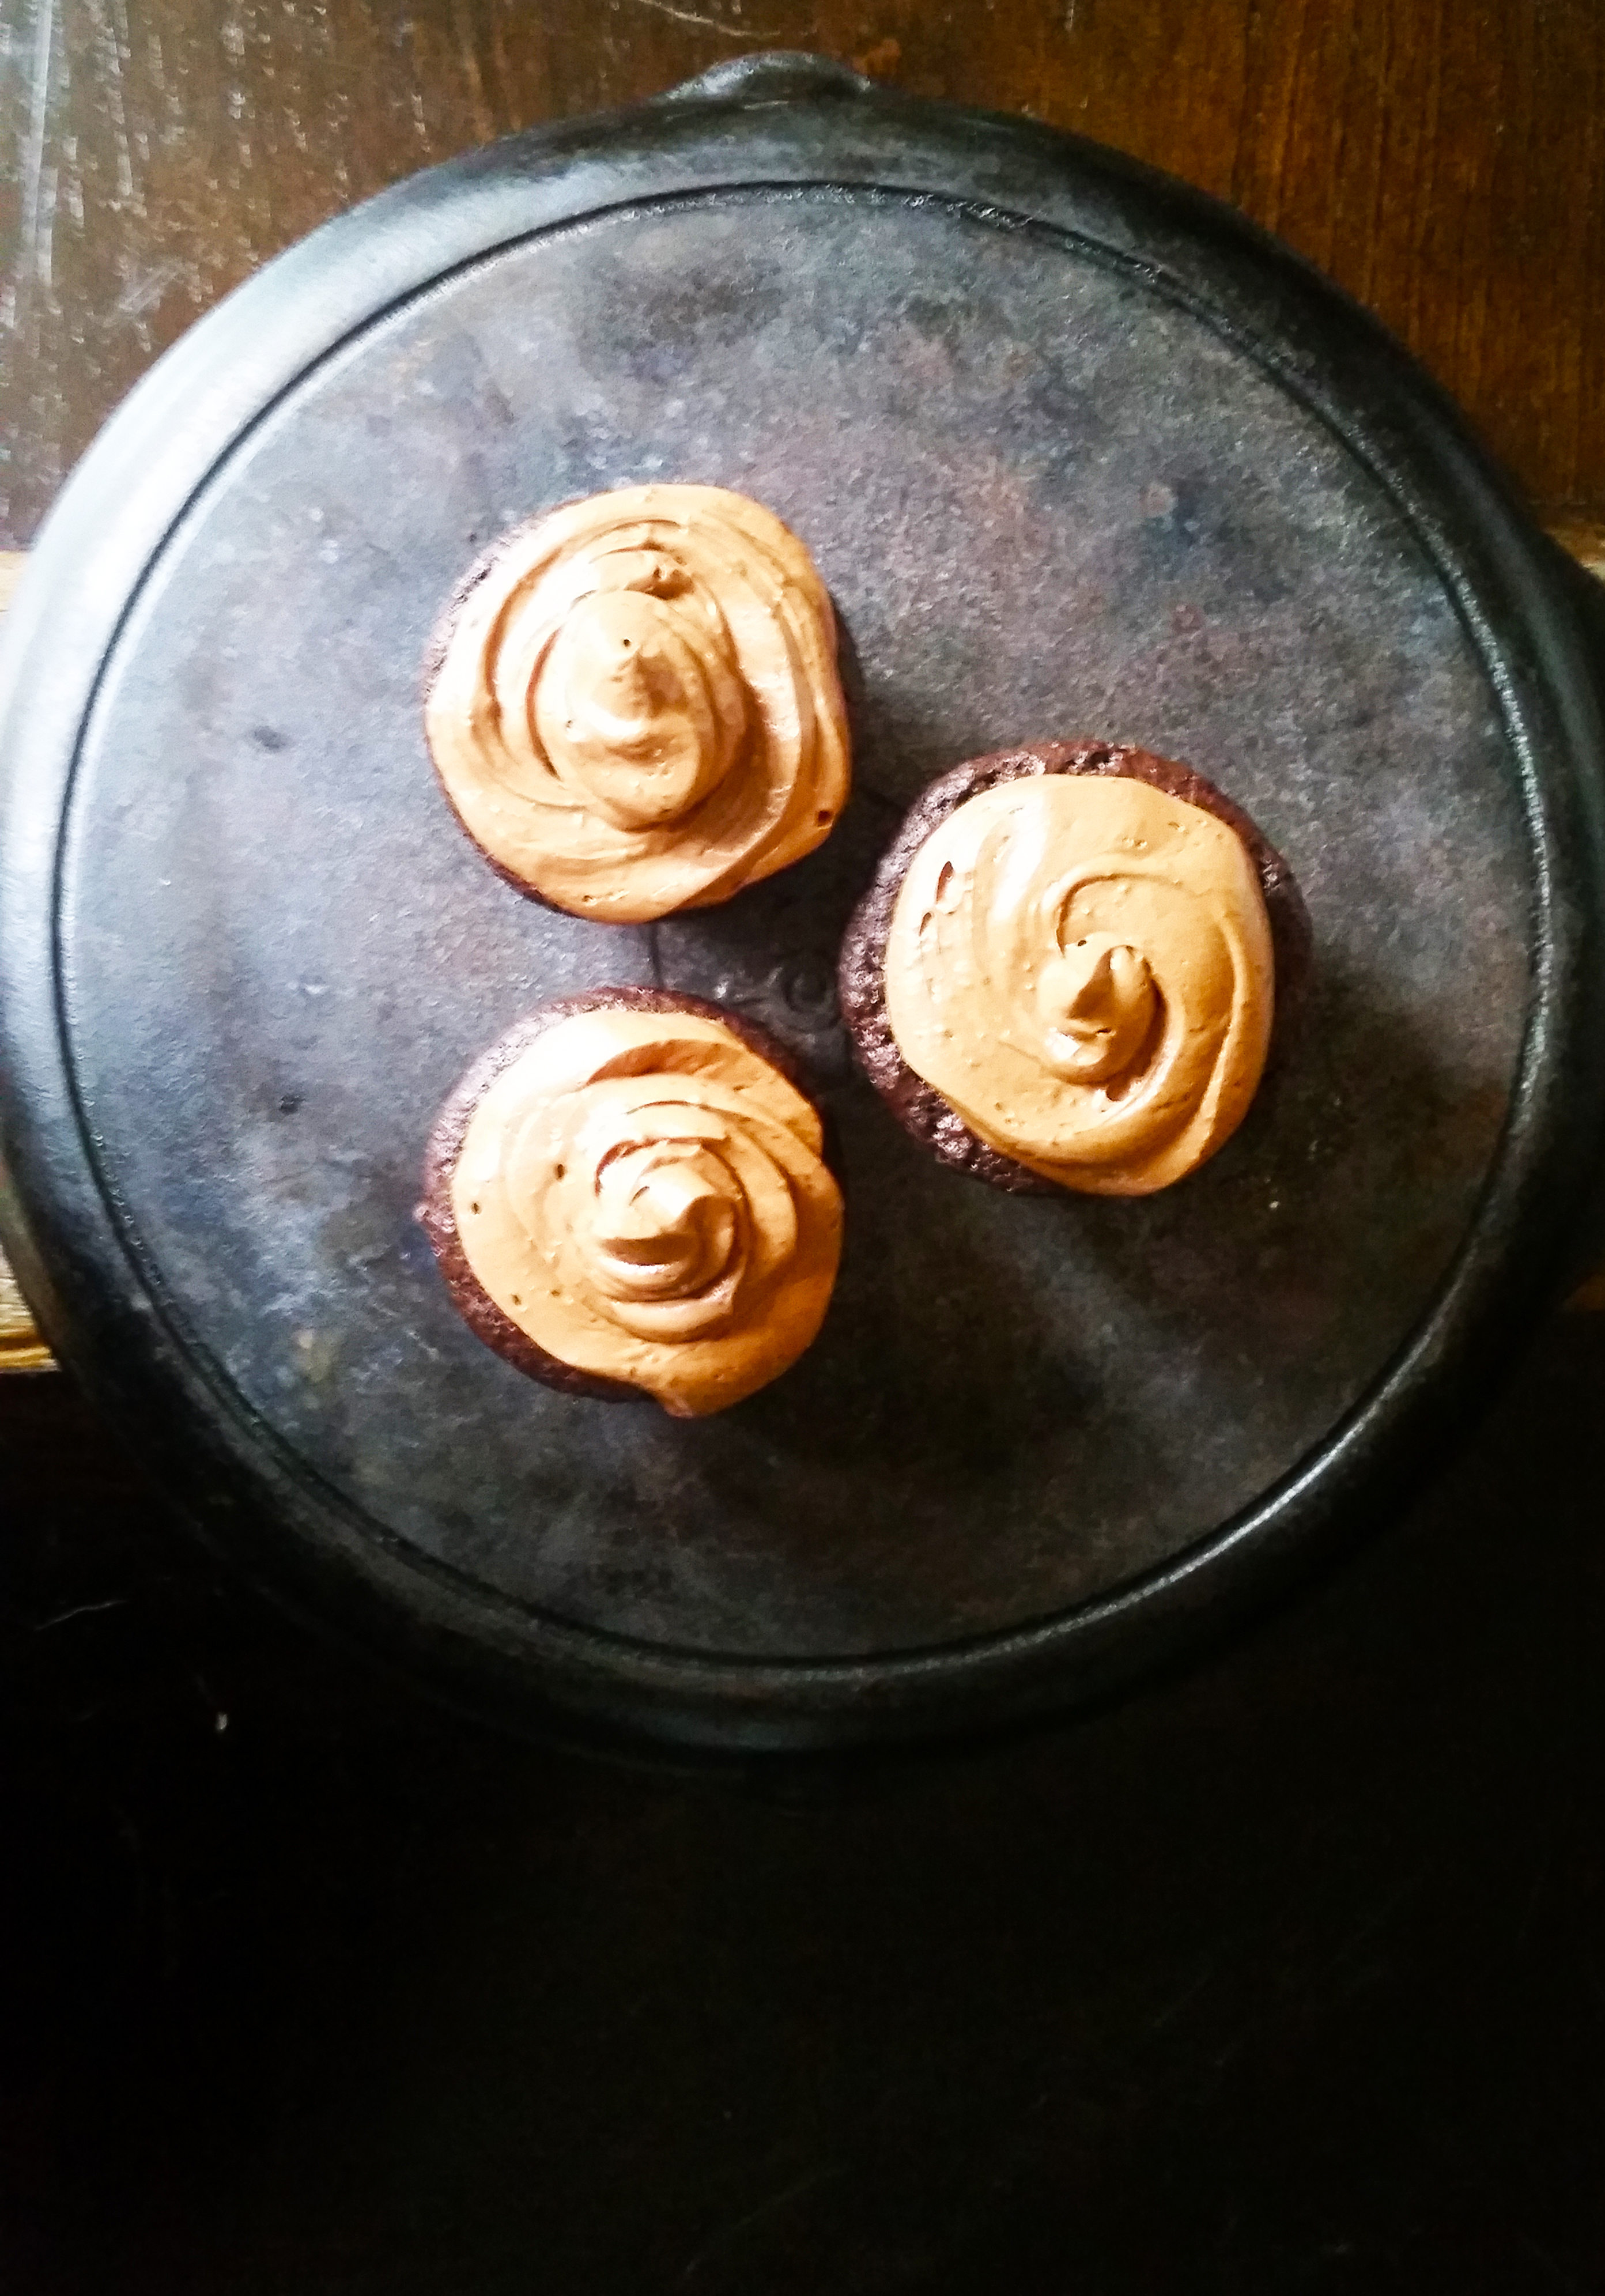
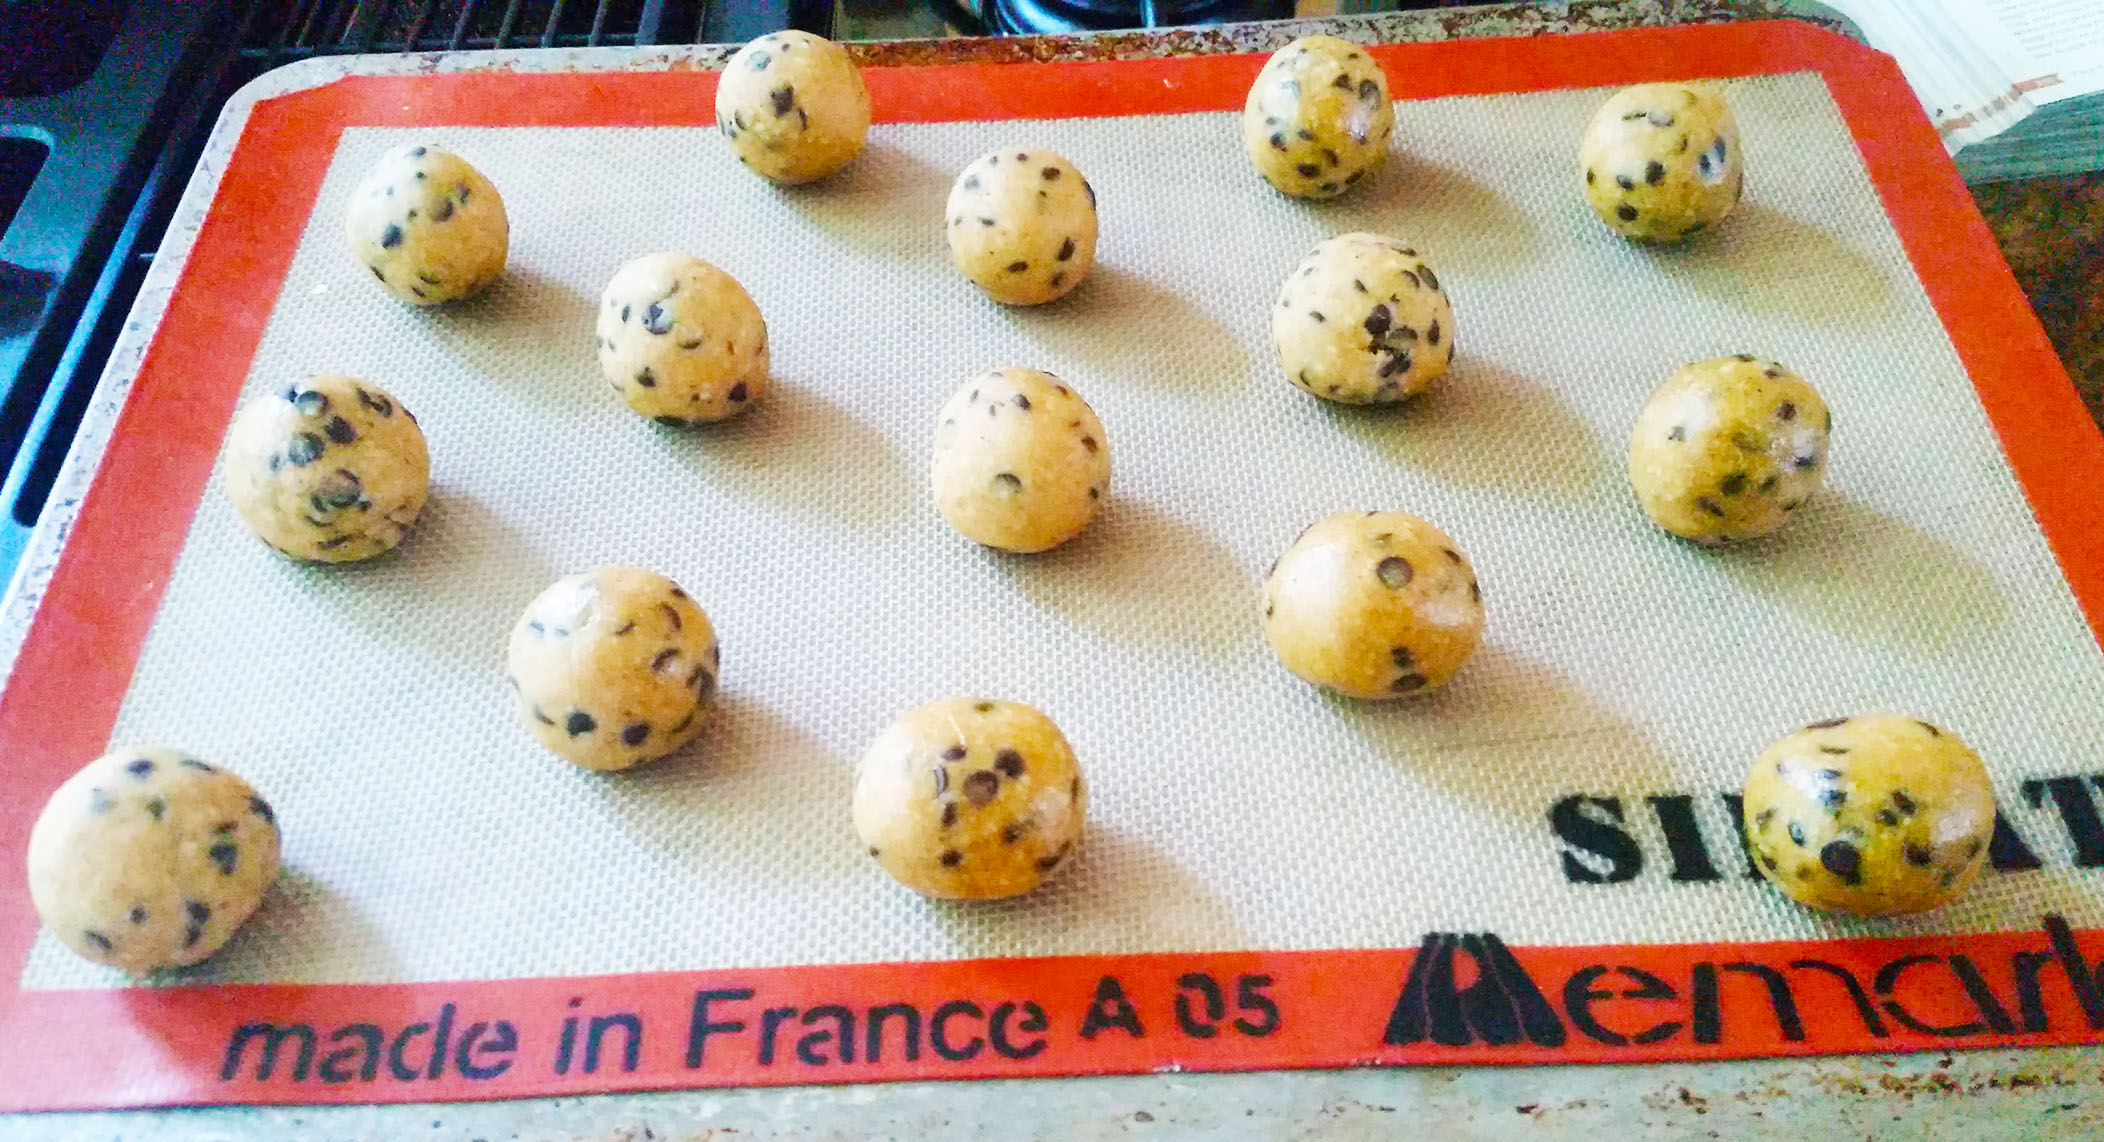
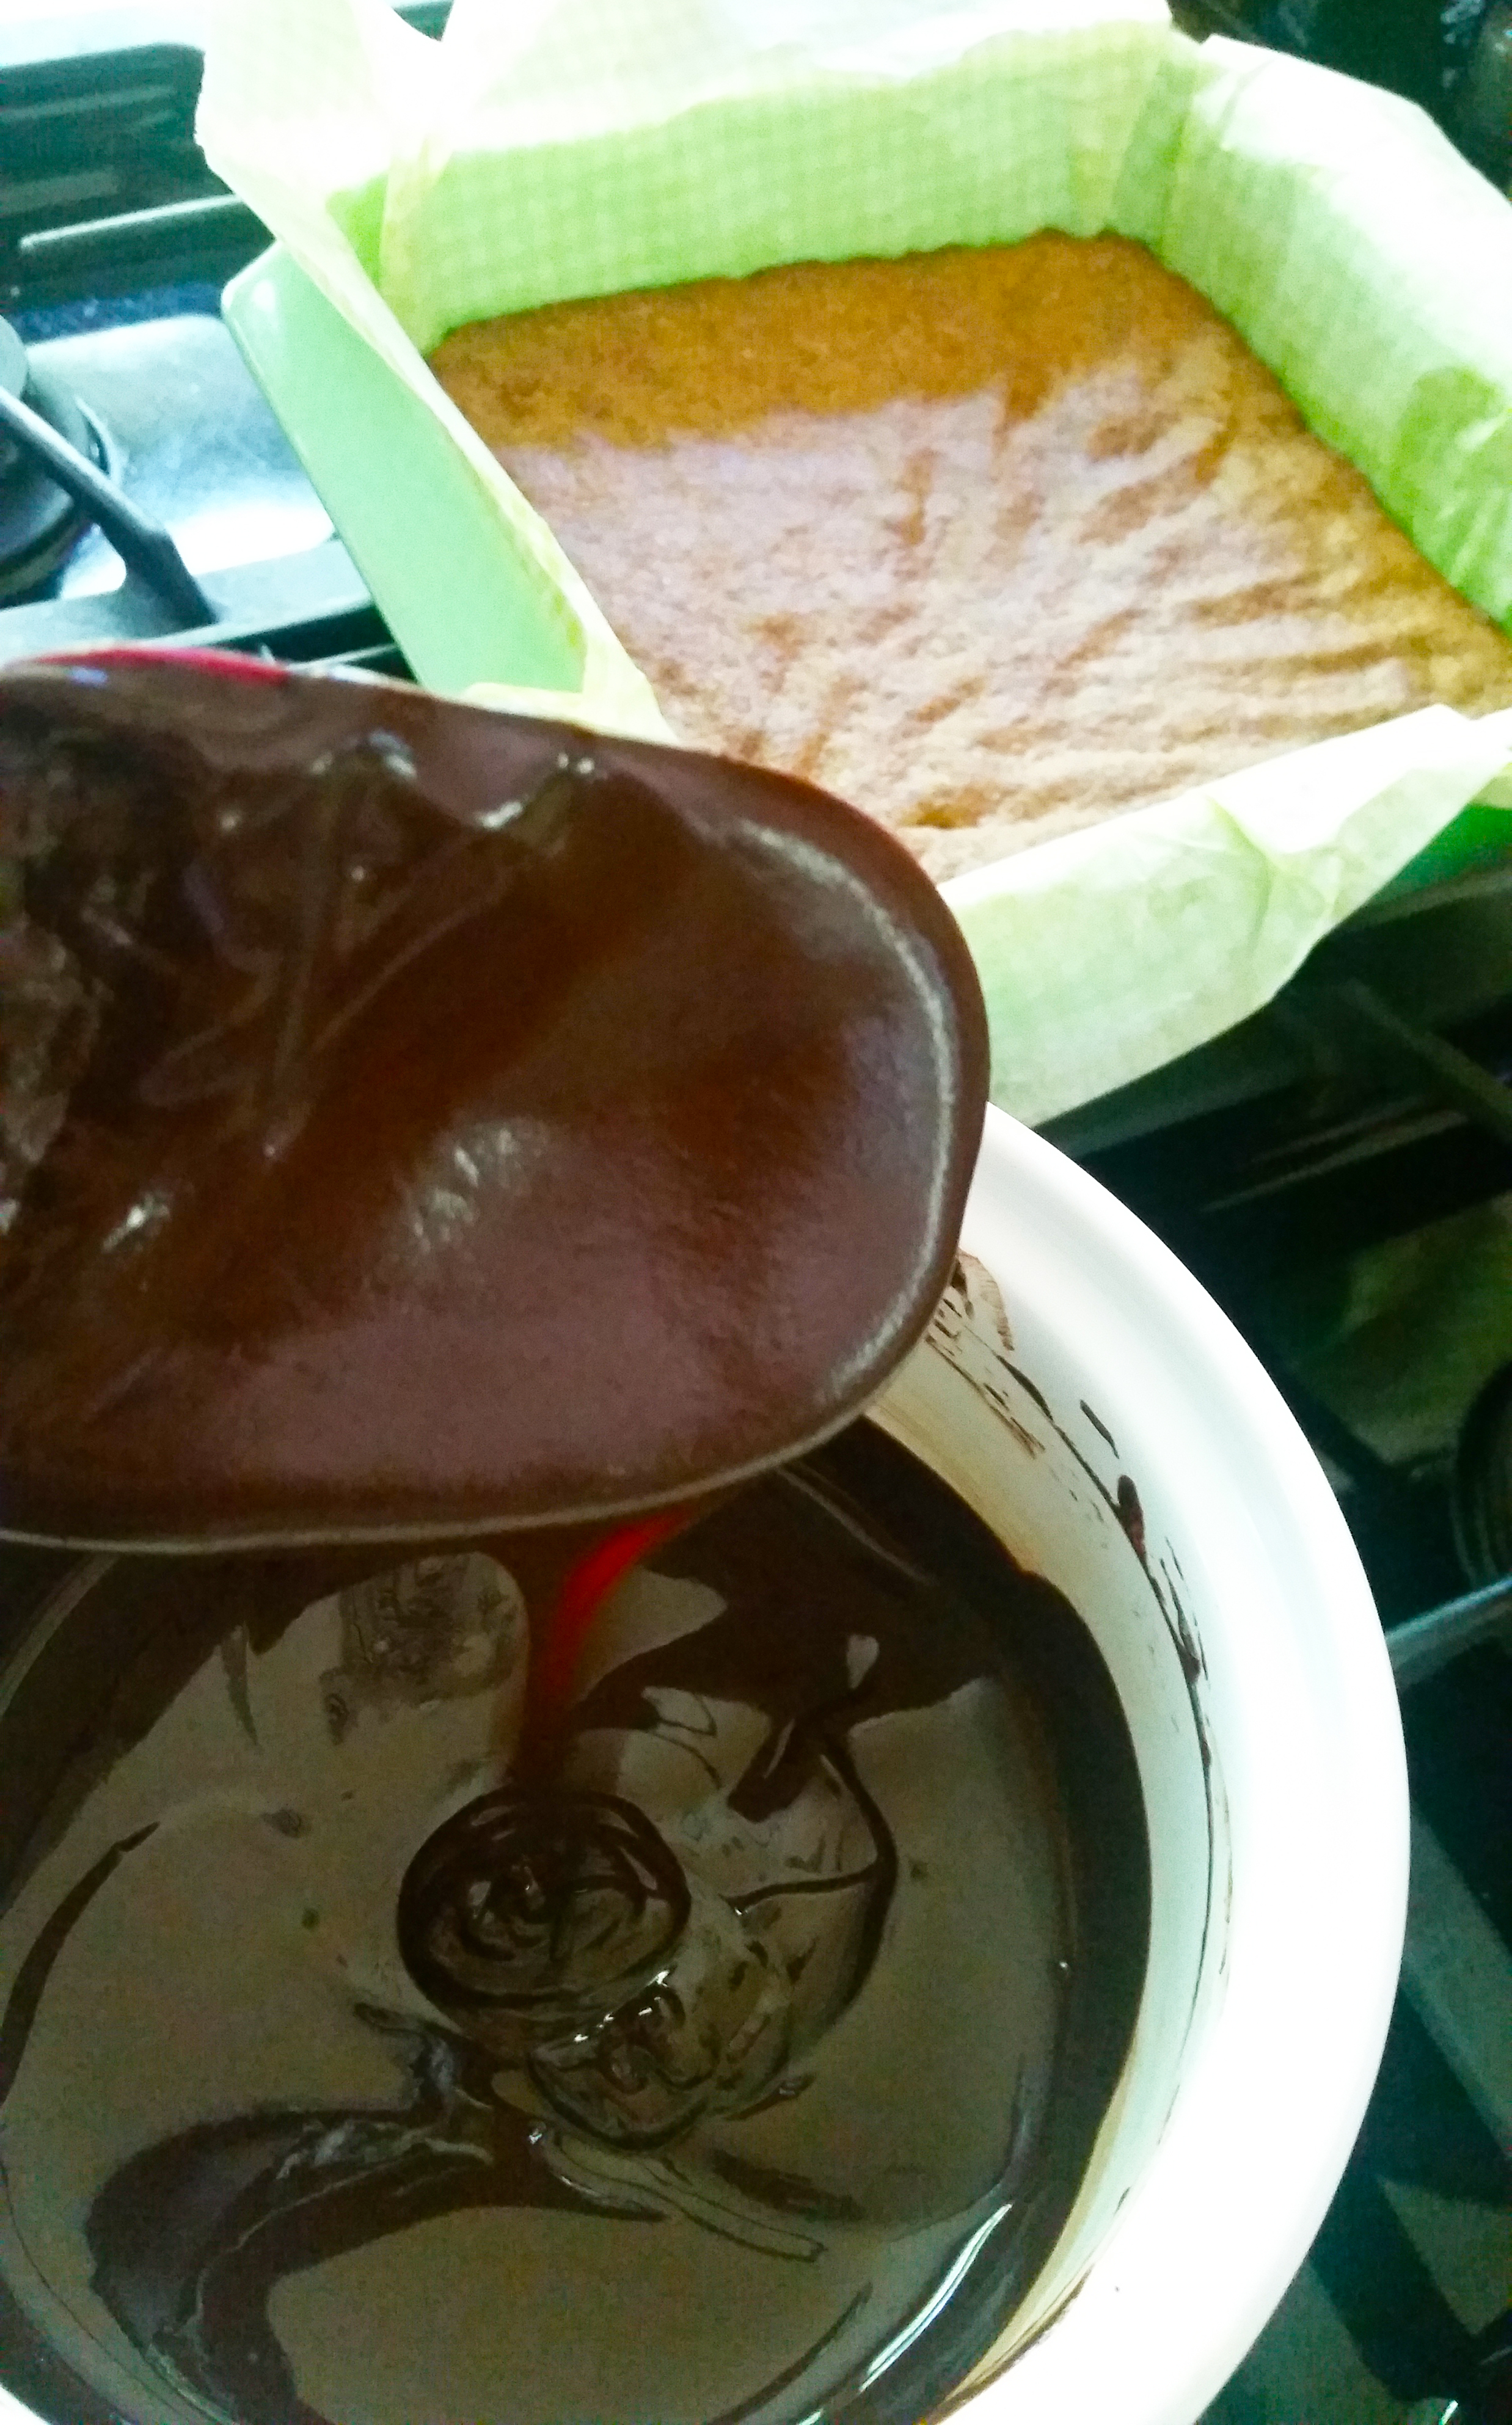
So the idea here is three layers.  First is the Graham Cracker Crust, which is fairly straightforward.  Smells lovely!  (Not sure if it really rings of graham, but a nice flavor nonetheless!)  Second is the Ganache (and, ahem, who doesn’t like a dense layer of chocolate)!

Be sure to allow time for the crust to cool.

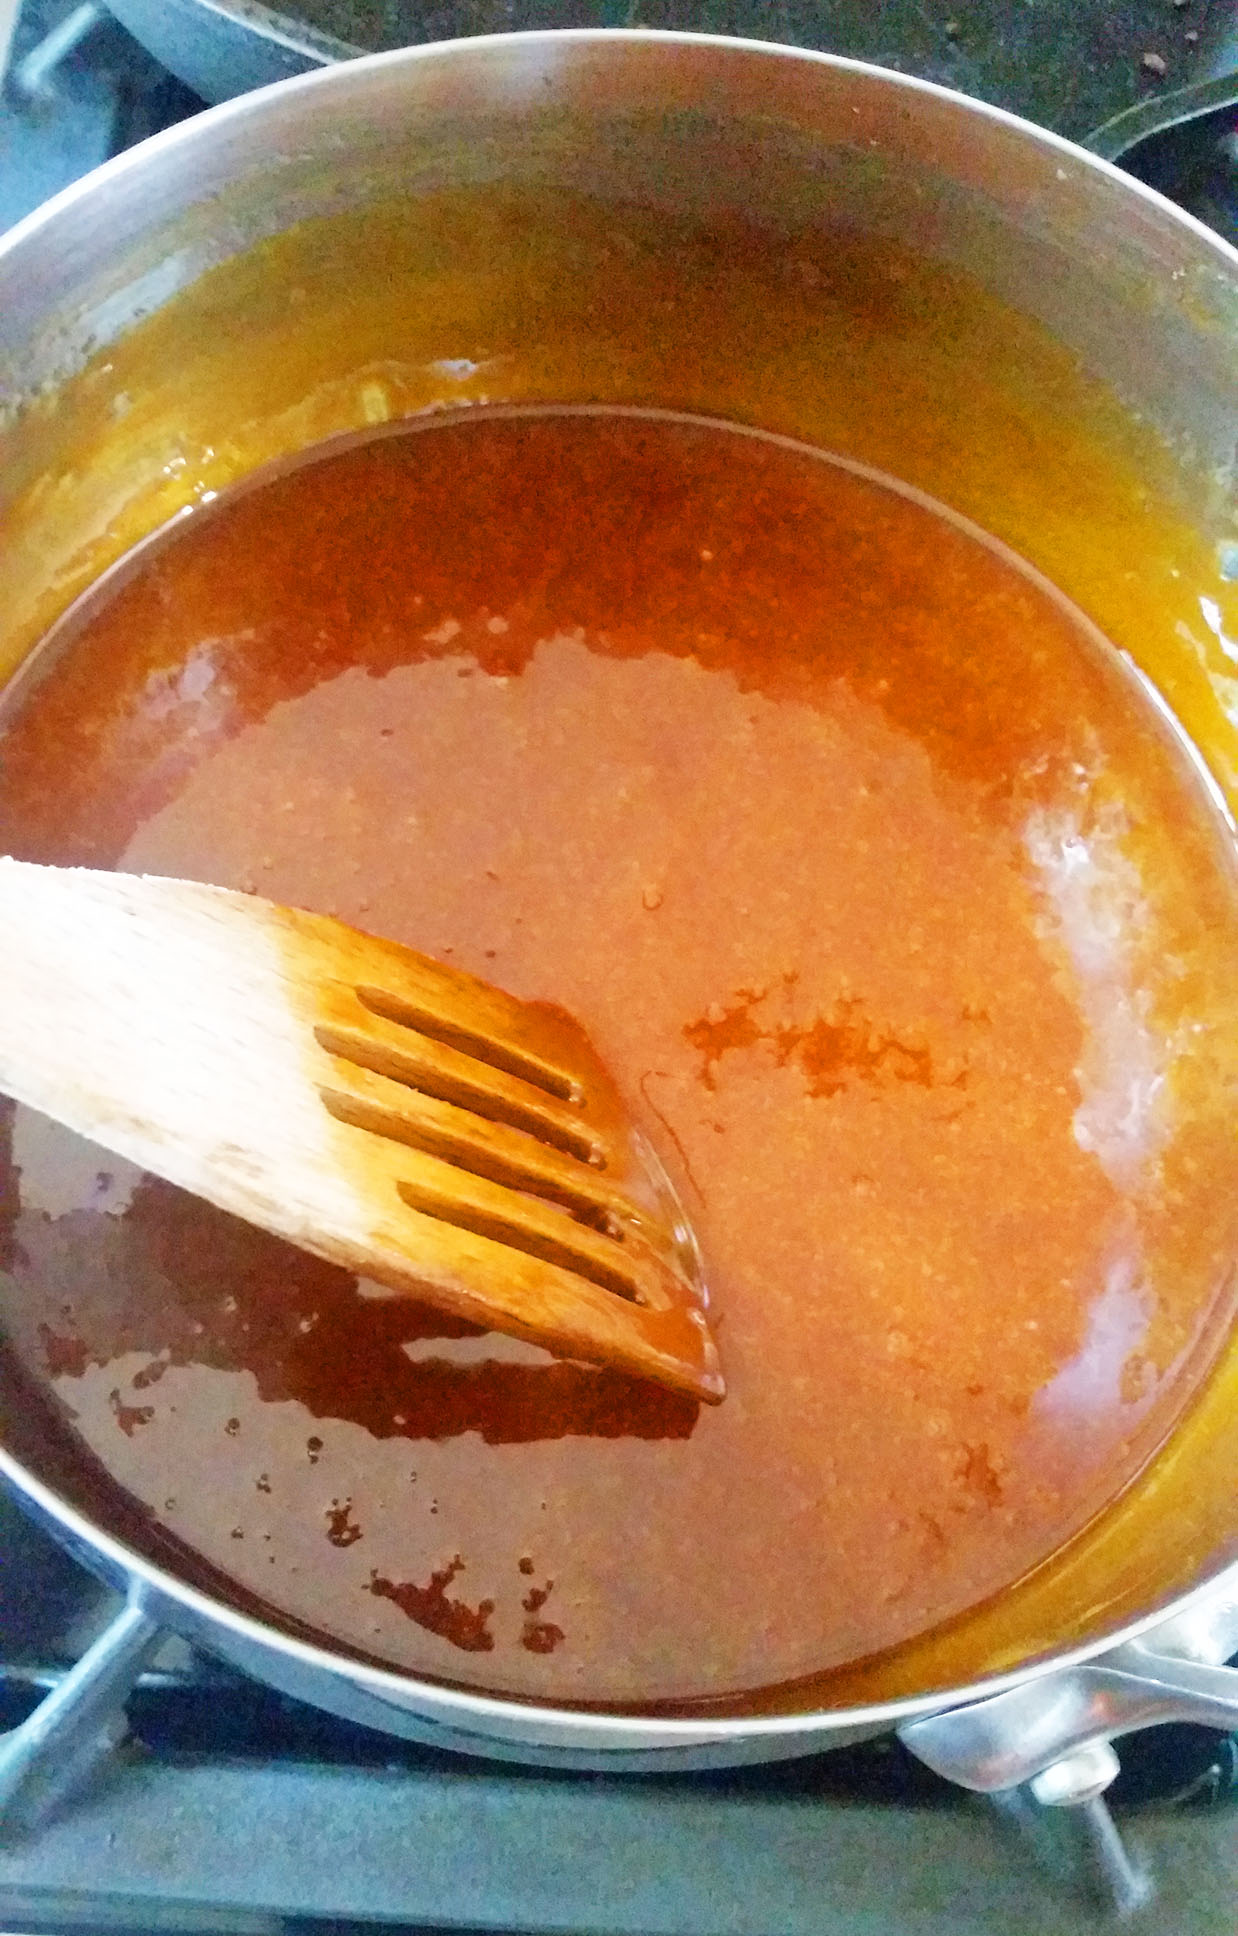
And once you pour the chocolate, give enough time for that to cool as well.

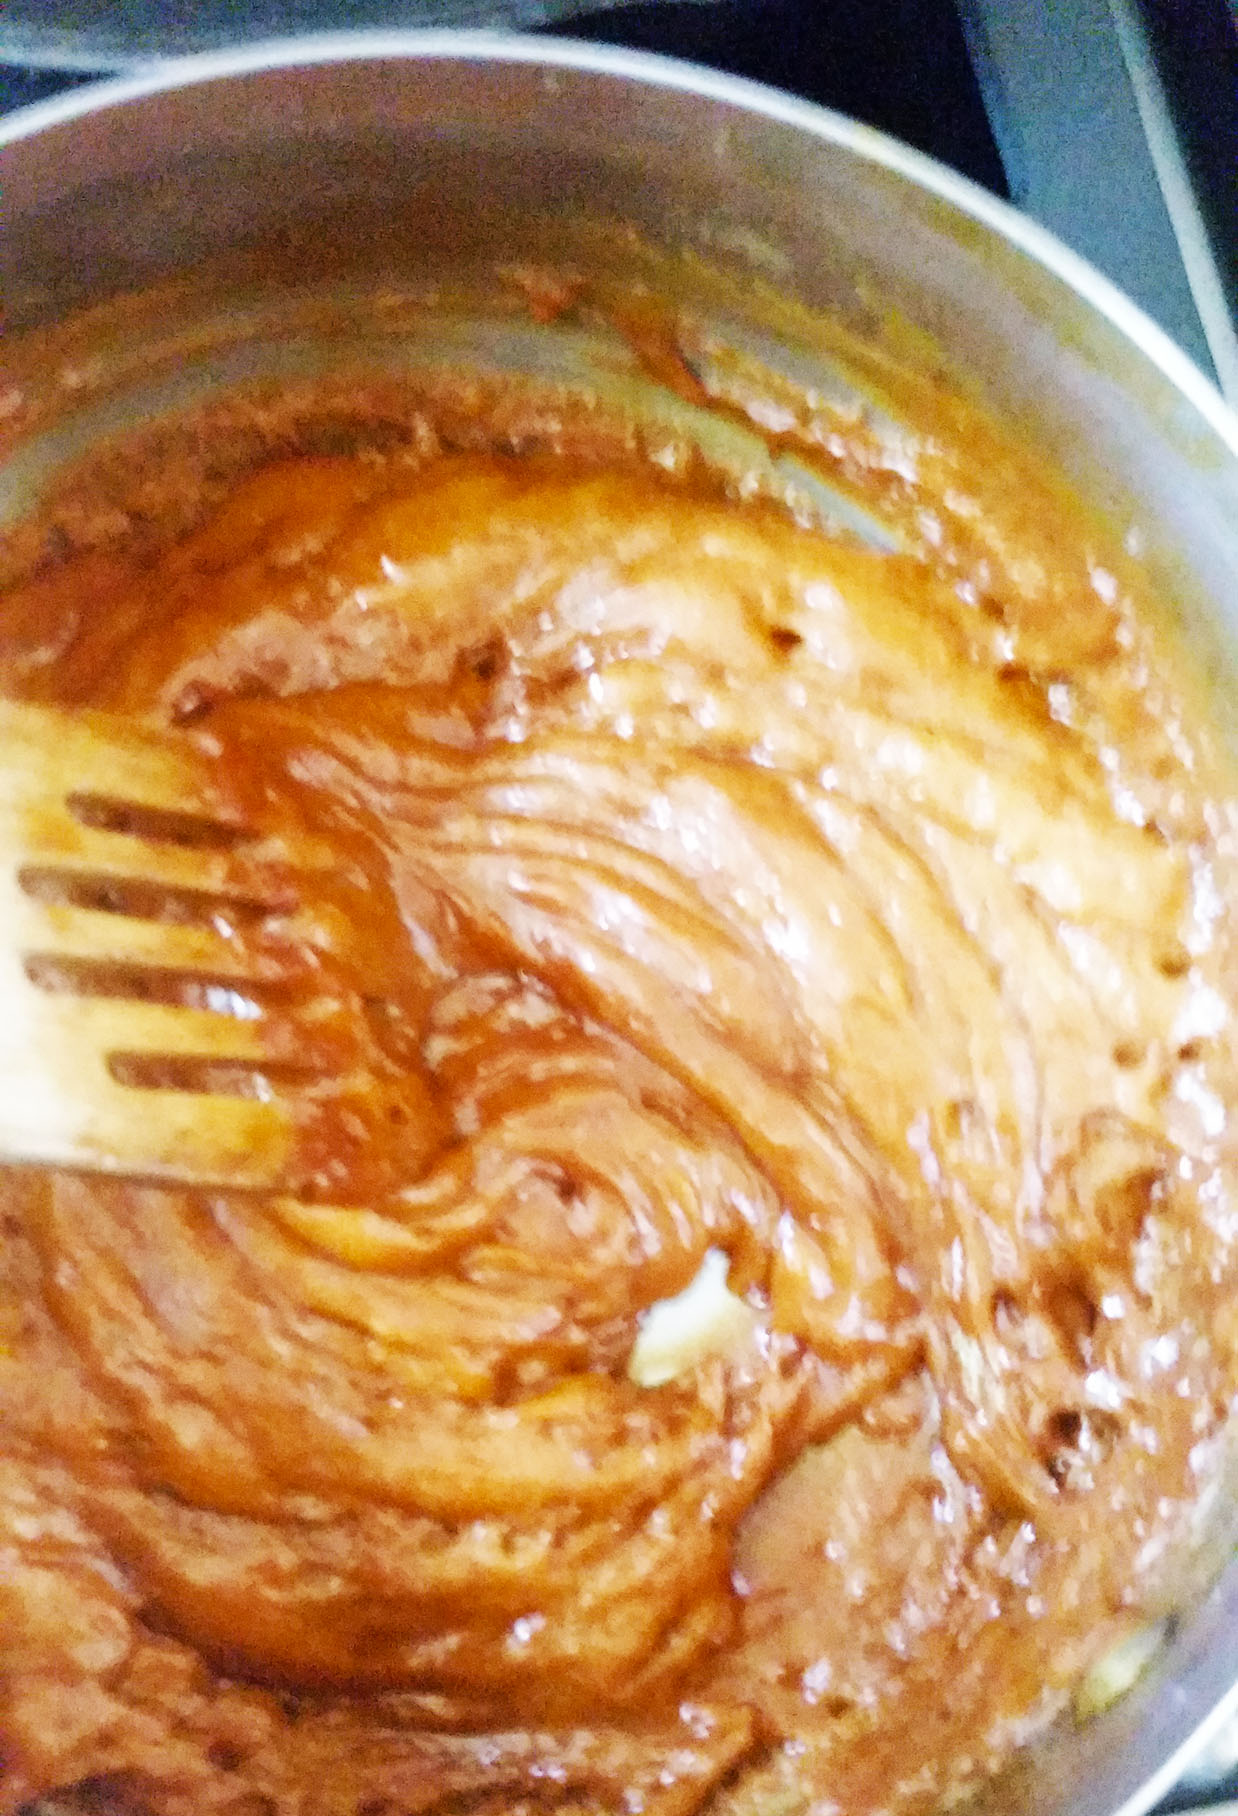
While that is cooling, you can embark on the Marshmallow Creme…marsh creme 2
which is like a super impressive magic trick!  It comes together so nicely….just keep beating!  You will be amazed!  And then?  You get to whip out the torch you never get a chance to use!!!  Wahoo!!!!

marsh creme
And I am willing to bet you cannot keep from taking more bites of the creme!  I am not even a huge marshmallow person, but this is so fun, and delicious! Ha!

Anyway, just glob it on to the ganache and spread it around.  There is plenty!  Then torch it!!

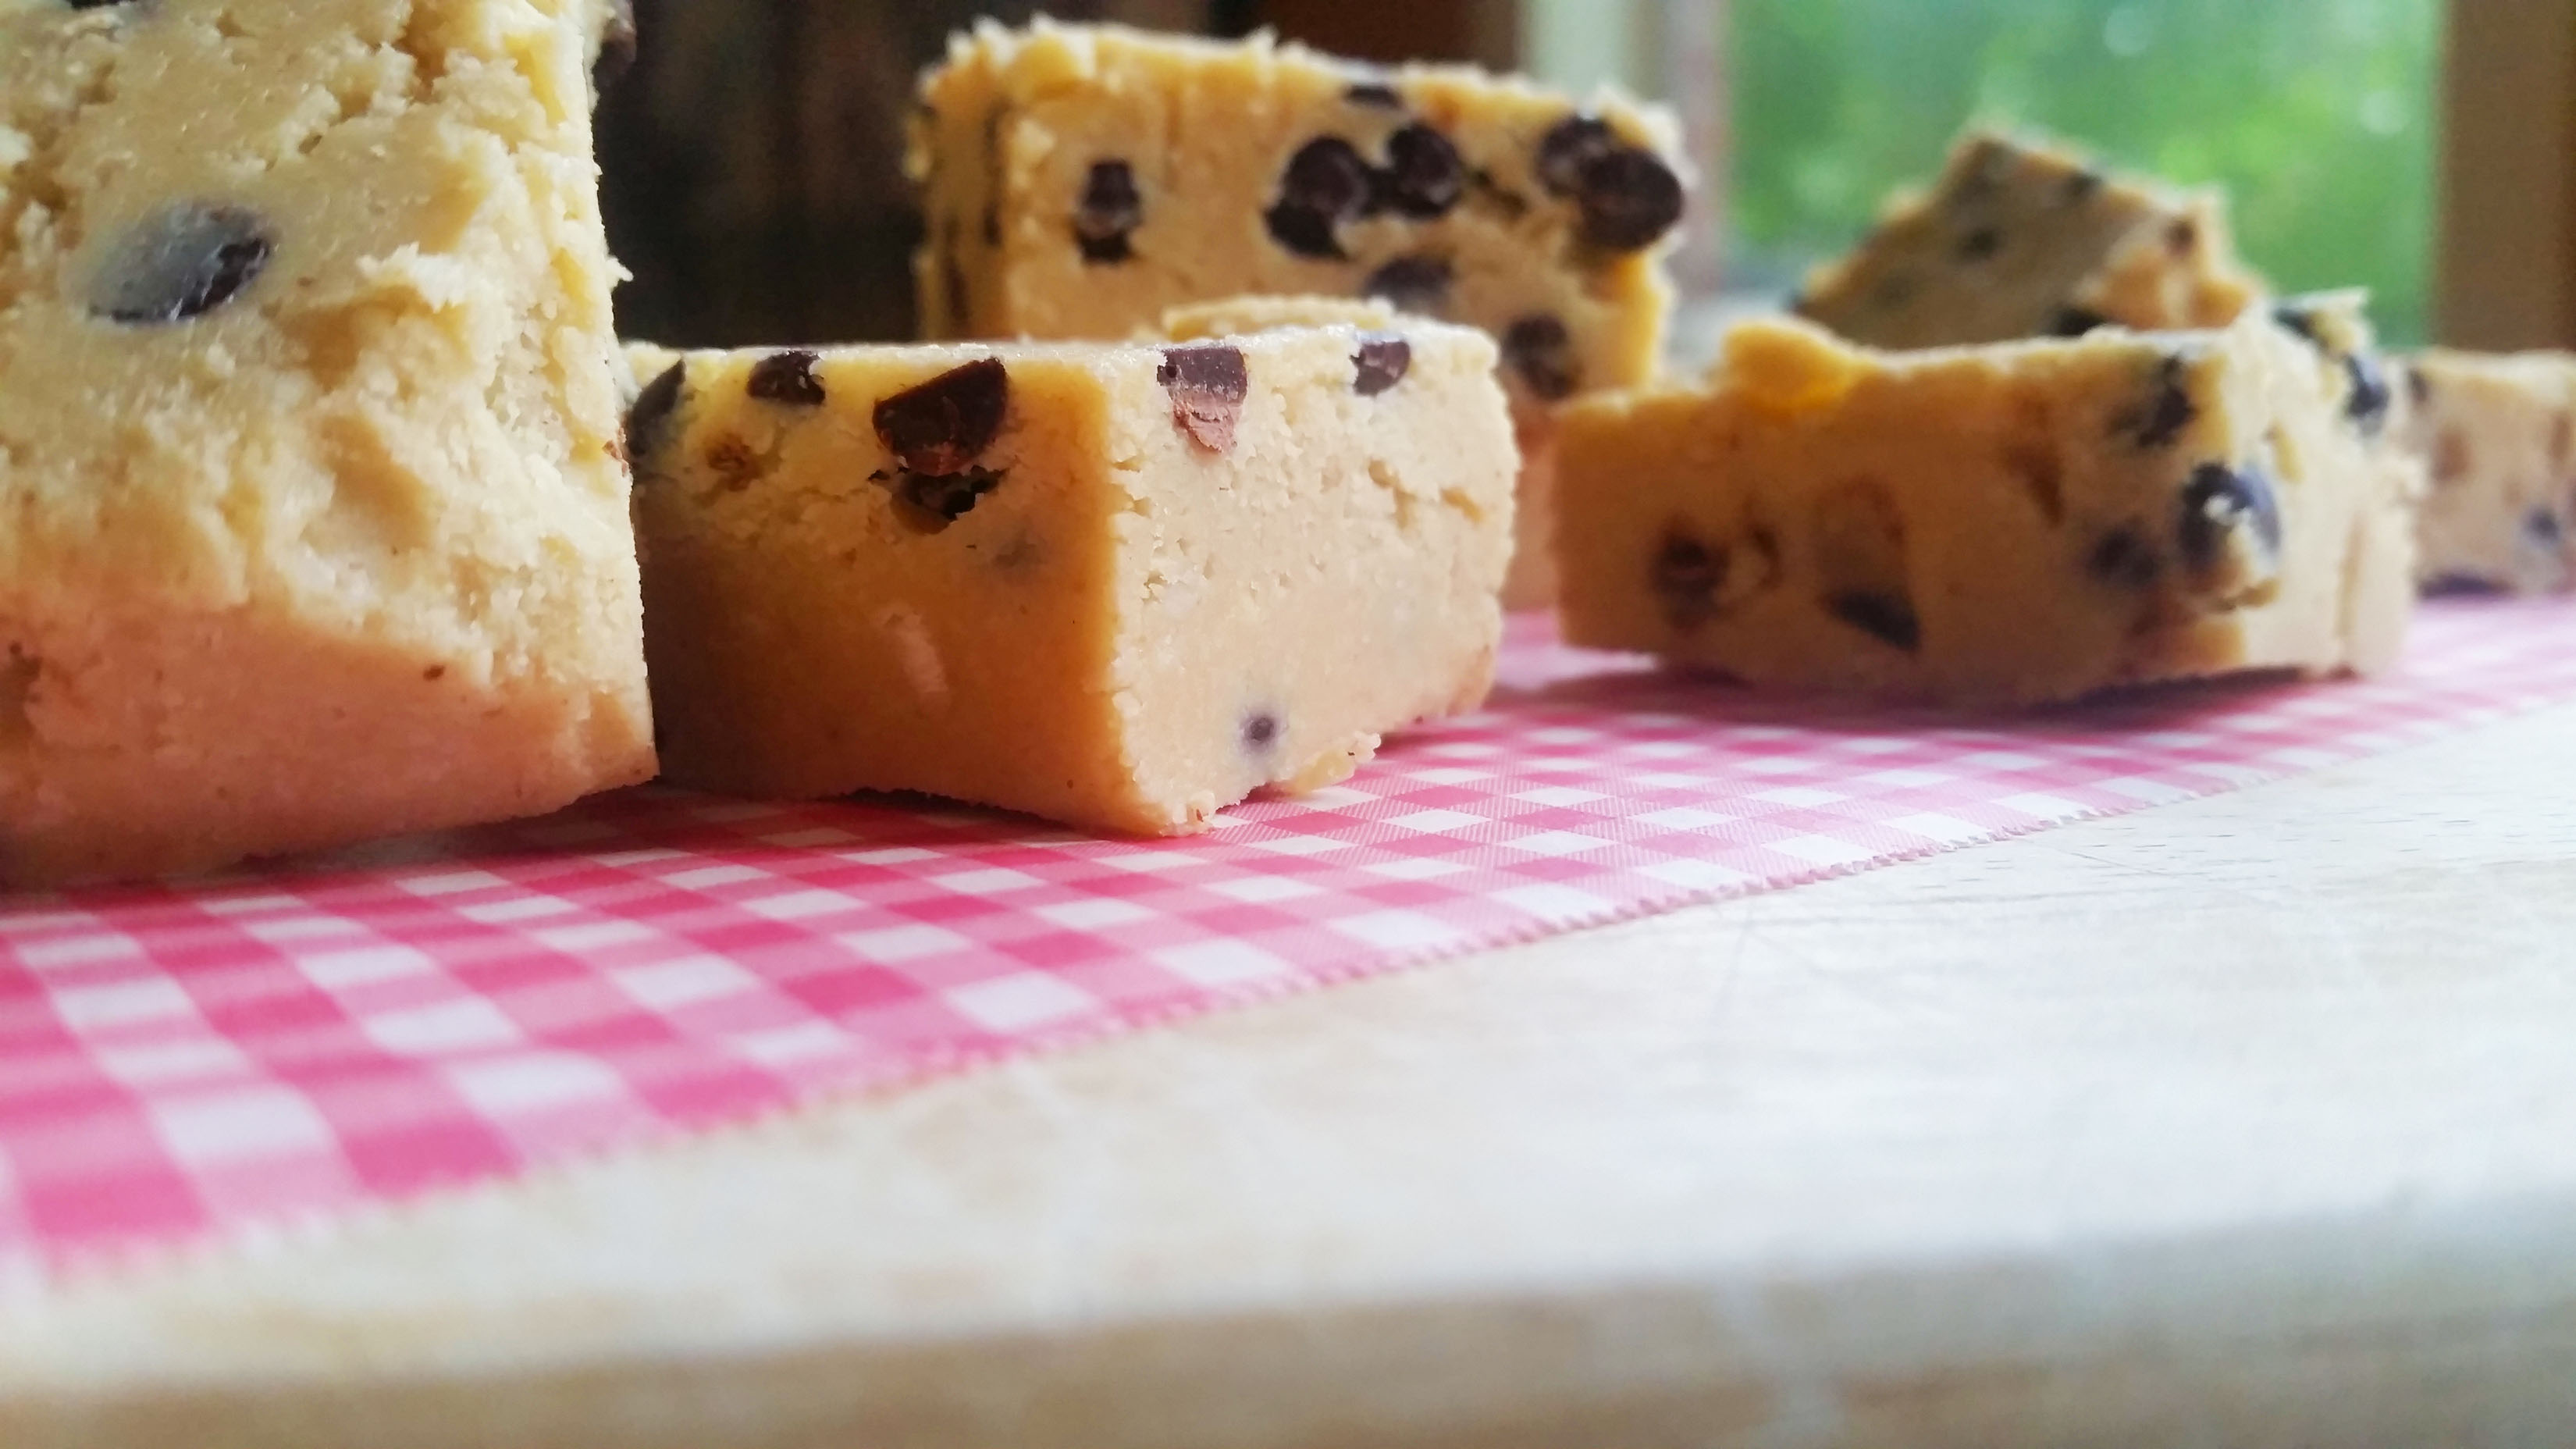
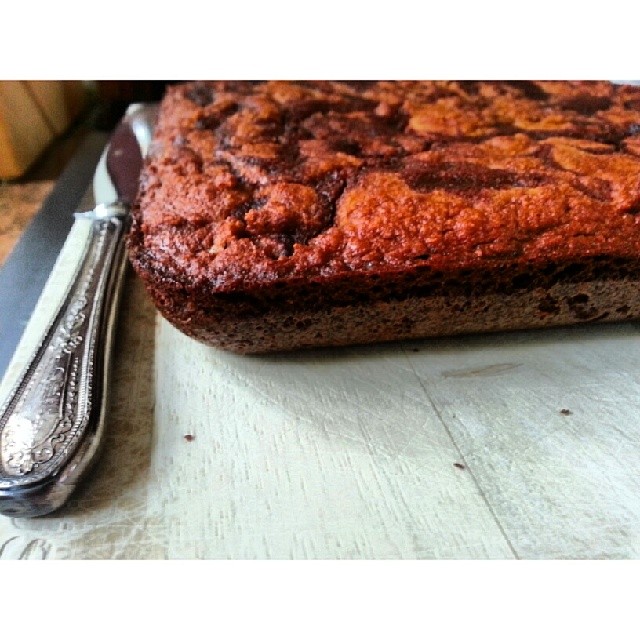
And now you have to put it all away….in the fridge, and truly, leave it overnight if you can.  Pull it out in the morning to cut (breakfast!!!).  I used a good serrated knife…I rinsed it off between each cut.  Use your big muscles, the knife will go through!!  But do cut it while it is good and cold.

These are super rich, a little goes a long way!  So cut small pieces.  I had to take a big container of them to the office (to get them out of my face!!)  and they devoured them…!

smores bars 2
I think these would be so much fun for a party!  They are impressive to look at, super delicious, can be stretched by size of bites, and can be made ahead of time, just keep them in the fridge.

Another amazing pile of sweetness from Clean Eating with a Dirty Mind!  Fun stuff!

Every. Single. Recipe – Chocolate Cupcakes. The End.

20150927_153334
Cupcakes! Who doesn’t love them??

Well, sometimes, me!  Cupcakes have been such a craze lately, little shops with all kinds of magical flavors ….and what do you find in the shops?  Beautiful little cakes piled high with mountains of frosting in creative flavor combinations!  And what do you really get?  Well, I think the cakes tend to be dry.  Or they are dry cakes stuffed with overy sugary frosting, and then twice as much frosting as cake on top.  Not a fan.  Sorry.

20150927_153344

BUT!  I loved cupcakes growing up.  Especially homemade one, from a wonderful moist cake recipe…and frosted within reason on top with a creamy and delicious frosting, homemade of course!

SO!  Testify!!!  These?  These sweet treats from Clean Eating with a Dirty Mind….are like going back to the moist cakes of my childhood!  Truly moist little cakes with delicious creamy frosting.  I wouldn’t change a thing!

20150927_150856

They are very straightforward, delicious!  (I do think I doubled the cinnamon in the cake, because I love chocolate with cinnamon!)  I did not share these.  I kept them in the fridge, and before a meal, I would take one out so by the time I was ready, so was my little cake!

And I will admit right now.  The moment they were all frosted, I stood in the kitchen and devoured two right there.  (I sat down for the third one!!! SHHHH!)

20150927_152532 So of course I had to run out and tell me sister to make these asap.  Which she did.  These are winner cupcakes!  Worth the trip to the bookstore to pick up the book for the recipe right now, make a stop at the grocery store for whatever you don’t have on hand, and get in the kitchen!  What on earth are you waiting for!  These are grain free, gluten free, paleo deliciousness!

As you can tell, I am a fan.  These are my favorite thing out of the book so far!

I would share, but they are gone.  And I have to eat them all anyway!  Happy baking!

20150927_153317

Every. Single. Recipe. – Snickerdoodles!

snickerdoo 1
Wow, I have had such a crazy busy couple of weeks, but I actually have been at work in the kitchen as well, just have not had time to post! So, a couple of weekends ago I tried out the Snickerdoodle recipe in Clean Eating with a Dirty Mind, and here goes!

These are just great!  Excellent texture and flavor (especially from her trademark browned butter!)  You will want to be sure to chill the dough as mentioned or you will have a sticky mess!

snickerdoo dough
But that is no trouble, just cover with plastic wrap like she says and pop in the freezer, you will be glad you did!

These are quick and easy….and here is my tip…cook them for the minimum time!  I decided to let the first batch go a couple of extra minutes because I did not think they had browned enough.  Don’t panic!  they didn’t burn!  They looked fine, but the flavor turned a bit with the extra time in the oven, took on a slightly burnt flavor…not bad, just toasty!  Anyway, the next batch I did for less time, and they are SPOT ON!!!   One other tip, give these babies plenty of room on the cookie sheet!  They spread!  (As you can tell on the pic below, mine got very cozy in the oven….had to pull them apart.)…DARN!  You know the rule!  Got to eat the “ugly” ones!!!  haha!

So these are a keeper….another keeper!!!  More to come here on the blog this morning, I finally have a few minutes and quite a few to post!  Lucky YOU!!!

snickerdoo 2
AND…If you are in the Houston area this weekend, Vanessa Barajas (Clean Eating with a Dirty Mind) and Juli Bauer will be signing their books at the Brazos Bookstore here in town on Sunday, October 4th at 5:00 pm….hope to see you there!!!  I will be there!  Wonder if you can pick me out of a crowd???)

Back to work!  Kristen

Every. Single. Recipe. – Southern Biscuits

biscuit cover this one
Love me some biscuits!
I have been so excited to get to this recipe from Clean Eating with a Dirty Mind, I just knew it would not dissappoint, and I was correct! Nice buttery flavory, flaky on the inside, golden crisp on the edges, this is just about right!

The ingredients are right, as are the amounts..  This recipe is quick, simple, all done in the food processor…just the way I like it!

Now I want to give you my tips to streamline a little more.

biscuit mix
Absolutely follow the recipe.  When I had all the ingredients combined, I popped the processor bowl in the fridge while I prepped the surface…put away all the ingredients, laid out a piece of parchment paper and dusted it with arrowroot flour.  Dough was in the fridge less than five minutes, but kept it cool, which makes it easier to work with  I scraped the dough out onto the dusted parchment paper and dusted the top of the dough as well.  No real need for a second “top” piece of paper or a rolling pin.  The texture of the dough was nice enough to press out to the 1 inch thickness with my fingers, no problem.  I know the recipe calls for cutting 2 biscuts at once, which is a little confusing, I cut them one at a time…got three on the first round, then re dusted and pressed out the dough for the final 2 biscuits.  The dough lifted up with the cutter ever time as well, so no need for the pulling away of dough, just makes a sticky mess for me.  The last bits of dough, I plopped it on the pan as well (sad little wobbly donut shapes in my case!)  I am not easily offended by off shaped baked goods from the leftovers…I eat those!  (I don’t serve them, that would be so rude of me! MINE!)

biscuit 1
Anyway, they just brown beautifully! Start to finish was about 30 minutes, total. They disappear much more quickly! Lucky for me I was having a quiet morning on my own and did not have to share! Did I mention the aroma in the air?? Golden buttery goodness all over the house!

inside biscuit
Here is a peak at the inside! Of all the breads and biscuits I have tried Paleo style, this is as close to the real thing as it gets. Fluffy texture, not dense. And moist and buttery…in fact I was ready to spread these with butter and honey, but they really do not need a thing! Ate the first one plain, the next piece, put a little honey on it… which for some reason reminded me of “honey-wheat” bread that I used to eat a million years ago! I can’t wait to toss a fried egg on one. Take that, golden arches!
biscuit and coffee
In conclusion, this one is getting dog-earred for sure. I will make these again, they are too easy and way too delicious not too!
Let me know how yours turn out!!
AND…please share this post on all your favorite social media spots! Let’s get the word out there!!
See ya!
Kristen

Every.Single.Recipe. – Cookie Dough Fudge – Clean Eating with a Dirty Mind RECIPE SCORE!

oblique

My latest try, and huge success, Cookie Dough Fudge! And today, via the magic of internet links, you can try this recipe out yourself, as if you don’t already have enough reasons to run out and pick up the cookbook, go to http://www.thespunkycoconut.com/2015/09/cookie-dough-fudge/    where Vanessa Barajas has given The Spunky Coconut permission to post the recipe…a teaser if you will!  (Pluse if you are not already familiar, The Spunky Coconut is a great blog, she has some great recipes, info and photos, I have followed her on instagram for years!)

Okay, back to business here.

1st

Not complicated, simple clean ingredients and the magic of a cashew base, if you take the extra 5 minutes and do the browned butter, you will end up with an incredibly close rendition of toll house cookie dough flavor! I went with mini chocolate chips…I’m really in it for the dough, so the minis are always my choice with cookies. Be warned, you gotta pull out alot of equipment to get it done, but it is pretty quick. And because of the type of dough it is, it all cleans up easy. (saucepan, food processor, beaters, bowl, pan, spatulas….maybe not that much??) I just grumble about the food processor really, because I keep mine under the sink and I always time it so it just won’t quite fit in the dishwasher! haha…but then I stuff that chunk of Cookie Dough Fudge in my mouth as I wash the dishes and it’s like little kitchen pixies are there with me making it all get done quickly with sparkles and twinkles!

bowl

So, yeah. If cookie dough is your thing, you really need to do this. I sent a pic to my daughter who is in college several states away and her response was… “STOP.”

I told her not to worry! It’s in the freezer waiting for her on the next trip home!!

side close

One more shot for the road….
Get in the kitchen already!
Also, pick up your copy of Clean Eating With A Dirty Mind, you will be so happy!

Give me some feedback on how you are liking this series of posts…and PLEASE pass along the word about my blog!  I know I am having fun with it!!! Hope you are too!

Kristen

Every. Single. Recipe. Soft Batch Chocolate Chip Cookies – Clean Eating with a Dirty Mind

OK!  Here we go! This post will take in 3 more recipes from Clean Eating with a Dirty Mind, bringing the count to 7/152!  good stuff here…Chocolate Chip Cookies that are grainfree, gluten free and delicious!cookies
Now, let me start off by saying I have ORDERED the FINE ground almond flour/meal that the author recommends, but I have not received it yet. SO.  I intend to do this a second time with the right grind…as the photo in the cookbook looks much fluffier and more “floury”…these look more like all of the other paleo cookies I have made with traditional almond flour.

cookie balls

Either way, these are quite good!  They actually have a much richer flavor due to Barajas’ signature “Browned Butter” used in this recipe and others.

Quick aside….this is what beautiful Browned Butter looks like….sorry, I cannot pass along the gorgeous aroma here….

browned butter

She also uses Maple sugar throughout the book and in this recipe…I could not get my hands on any locally so I went ahead and tried her method for “Maple Sugar” which is really cool!  It is like a little science experiment and very easy, I was so amazed at how it turned out!  Not difficult at all, although it does take time.  Definitely less expensive (by about half!) than store bought, and my local Whole Foods does not carry it.  You can order off Amazon, but I decided I would give it a whirl…here are the progress pics!

ms step 1 ms step 2 ms step 3 ms step 4So, pull on your baking stockings and try these!  Tasty, soft with a good bite to them, a nice treat to have on hand for sure!  But loved making the butter and the sugar best!  And now that I tackled those right off the bat I won’t be intimidated in making either one in her many other recipes that call for them!

Note:  I had 2 cookies.  My husband, who is not Paleo, ate all of the others.  ALL.  Yep.  Gone.

I think they will be fun to put with the ice cream for ice cream sandwiches, really nice texture and flavor for that.

So let me know if you try these out…especially if you use the right flour, fine ground Almond Flour…and if they look more like the photo in the book….cannot wait to post that picture!!!

Probably be the weekend before the next round of recipes come up….wish me luck and see you then!

Kristen

Every. Single. Recipe. – “Better Than Box Brownies” – First Crack

Of course I would gravitate to chocolate brownies with a first crack at this book!  Page 110 has a lovely, simple but very rich recipe for brownies….Clean Eating With A Dirty Mind does not dissappoint here.brownies

Barajas uses this recipe as a base in several things throughout the book. A little deeper in she puts it in a skillet for a brownie sundae that I will be putting together when I make her ice cream, etc., however, seeing that my usual brownie pan was otherwise occupied, I went ahead and cooked the brownies in the skillet…which was a win! Because I greased the pan with Kerrygold Butter….and added a nice buttery tone to the edges of the brownies!
These are easy and delicious, definitely will be a repeat!
skillet brownies
Let me know if you give this one a try, and any ideas you have for it!
I think a sprinkle of cinnamon would be my twist on it…I am a sucker for cinnamon in chocolate. Eat up!

Paleo Pizza with a CRISPY thin crust! (yeah, I said crispy!)

20140816_134158 (1)


I know, I have been missing for a while. As much as I think I am a blogger, I really spend all my time raising my daughter and working.
So I finally buckled down and got myself an awesome personal trainer who is helping me get the fitness thing going, and I have had a few moments to think about things in the kitchen!
After my workout this morning, I was crazy hungry and just wanted to lay down. But my brand new copy of ZenBelly (amazing paleo cookbook…give it a read!) was laying on the table as I walked by and I flipped through it becoming more and more inspired. I took a few notes of things i needed from the store to make a couple of the recipes and headed to Whole Foods. While there, I stumbled across the most beautiful tomatoes I have ever seen! And what crossed my mind was pizza.

I have tried many different pizza crusts from different cookbooks and in restaurants…all trying to be the best paleo crust ever and all they ever tasted like were burnt nuts, and soggy at that.
I have used a recipe a couple of times that got the flavor right, but still got soggy as soon as you put toppings on, so I decided to start tweaking it. And this time, I got it! Real pizza crust flavor and crispyness to the crust that doesn’t sog out in the first 5 minutes!

There are more pics of this over on my instagram at paleo_k so come check it out!

Alright, enough banter, on with the Pizza!

Pizza Crust
In a large bowl, combine:
1 cup Tapioca Flour
1/4 cup plus 1 tsp Potato Starch/Flour
1/2 tsp salt
In a small bowl:
1/3 cup water
1 tsp gelatin (sprinkle over the water)
1 egg
1/4 cup olive oil
Whisk the wet ingredients and add to the dry by mixing with a spoon until combined then kneading with your hands a few times.

Press dough out on your cookie sheet or pizza pan (greased with olive oil). I like to split the dough into 3 or 4 small crusts for more crunch edges. Press the crusts out to about 1/4 inch thickness. Prick the crusts all over with a fork and put in a 400 degree oven for 16-18, until golden and lightly browned.

Remove from the oven and start building your pizza!

MY PIZZA:

Brush the prepared crusts lightly with olive oil.
I topped with shredded Rumiano’s mozzeralla cheese (from organic grass-fed cows!)
VERY thin slices of onion
Thin slices of cherry tomatoes
torn basil
Light dusting of salt and fresh cracked pepper

Put under the broiler for 3-4 minutes, until cheese melts and begins to brown.
Cut with a pizza cutter…..and devour!

NOTE:  I find when I use pizza sauce, the sog happens.

Paleo Banana Bread…my Paleo Mom’s latest inspired recipe!

mothers new banana bread

Mother loves to tinker in the kitchen. She has never met a recipe she has not changed! We giggle about it all the time. So on the weekends, she is usually out at her farm and not close to an organic store, so she makes due with what she remembered to take with her. This is of course a driver in some of the changes, like the one posted here today!

She loves her paleo breads! Usually she’s a muffin girl, but this time she made a loaf…and I imagine the kitchen smelled divine!

She sent me the original recipe which she found from Nourished and Nurtured ( http://www.nourishedandnurtured.blogspot.com ) and then she sent me what she did to it, plus this little blurb…

“Because I am leaning toward almond flour and was out of it! I played with this recipe to try to get a bread like my favorite one with almond flour.
Turned out pretty nice and Papa (that’s my husband) really liked it!

-1/2 cup coconut oil (melted and cooled)
-1/2 cup raw honey
-3/4 teaspoon sea salt
-6 eggs
-2 teaspoons vanilla
-1 teaspoon almond extract
-3/4 cup coconut flour
-1 1/2 large bananas, mashed
-2 small zucchinis shredded and squeezed in a paper towel
-1 teaspoon cinnamon
-1 tsp pumpkin pie spice

Preheat over to 350 degrees.
Prepare a standard loaf pan with coconut oil (or line with parchment paper).
In a small bowl combine the coconut oil and honey.
In a large bowl, whisk the salt, eggs, vanilla and almond. Add in the oil and honey mixture, whisk away.
Next, stir in the coconut flour until completely combined with no lumps. Stir in the mashed bananas, zuchinni, cinnamon and pumpkin pie spice.
Pour batter into the loaf pan and top with the “coconut streusel topping” below.

For topping:
-4 tablespoons shreeded coconut
-4 tablespoons palm sugar
-2 tablespoons grass fed butter
Crumble together with fingers like for streusel topping

Sprinkle topping evenly over the batter and bake for 45 minutes to an hour. (Keep checking with the “toothpick test” for doneness).

This makes a nice hearty loaf, serves 12.”

Cinnamon Swirl Success

1620661_10151963121517424_792043360_n

1601188_10151963031227424_1461148559_n

I am always on the prowl for something bready in the mornings, but quickly defeated by time and availability. I often make paleo muffins on the weekends but they are gone FAST…mostly by my own doing, but hey, I like my baked goods people!

Also a sucker for anything cinnamon, I came across a recipe a while back from a very good paleo cookbook, and although I liked it, it had too much coconut “tang”to it for me, personally. Sometimes the paleo recipe writers really get heavy on the coconut, using flour, oil and milk all in one recipe, leaving the whole thing tasting like coconut whatever it is supposed to be, and not much else. Coconut is great…very healthy, and I am all for it! But sometimes, just for me, I have to tone it down.

So I tweaked the recipe and made it my own…and wow what a difference! The flavors and texture sing of good old fashoined coffee cakes or muffins your grandmother used to make! Buttery and flavorful, and a much better texture, due to a quick swap of a little tapioca flour in for some of the coconut flour. This looks like the bread you used to know so well, and the texture on your tongue will make you close your eyes for a minute before you go back in the kitchen for the next slice!

Here’s how:

Preheat your oven to 325 degrees. Grease an 8×8 pan (with butter or coconut oil) or line it with parchment paper.

Wisk together in a medium sized bowl:

2 Tablespoons of Butter from a grassfed organic source, like Kerrygold (or go with coconut oil if you prefer…) – melted
2 Tablespoons of WHOLE milk from a grassfed source, or coconut milk, or almond milk.
1/2 raw organic local honey, or agave nectar if you prefer. I used honey.
5 eggs
a dash of vanilla

Bowl to sift or “fork” together:

1-2 Tablespoons of Tapioca flour PLUS coconut flour to TOTAL 3/4 cup
1 tsp baking soda
1/2 tsp salt
1/2 tsp cinnamon

With a SPOON (not a wisk!) stir the dry ingredients into the wet until combined.
Optional mix ins at this point…a handful of golden raisins, a handfull of chopped nuts, or even chocolate chips would be good!
Pour into the prepared baking dish.

In a small bowl mix together:
1 Tablespoon Butter from a grassfed source, or coconut oil
1 Tablespoon raw organic local honey or agave nectar
2 tspns cinnamon

Drizzle mixture over the batter then swirl with the end of a knife.

Pop it into the oven for 25-30 minutes.
Let it cool completely before cutting into it.
Really tasty with your hot cup of coffee or tea!

Enjoy it! Let me know how you like it…I love to hear the feedback!